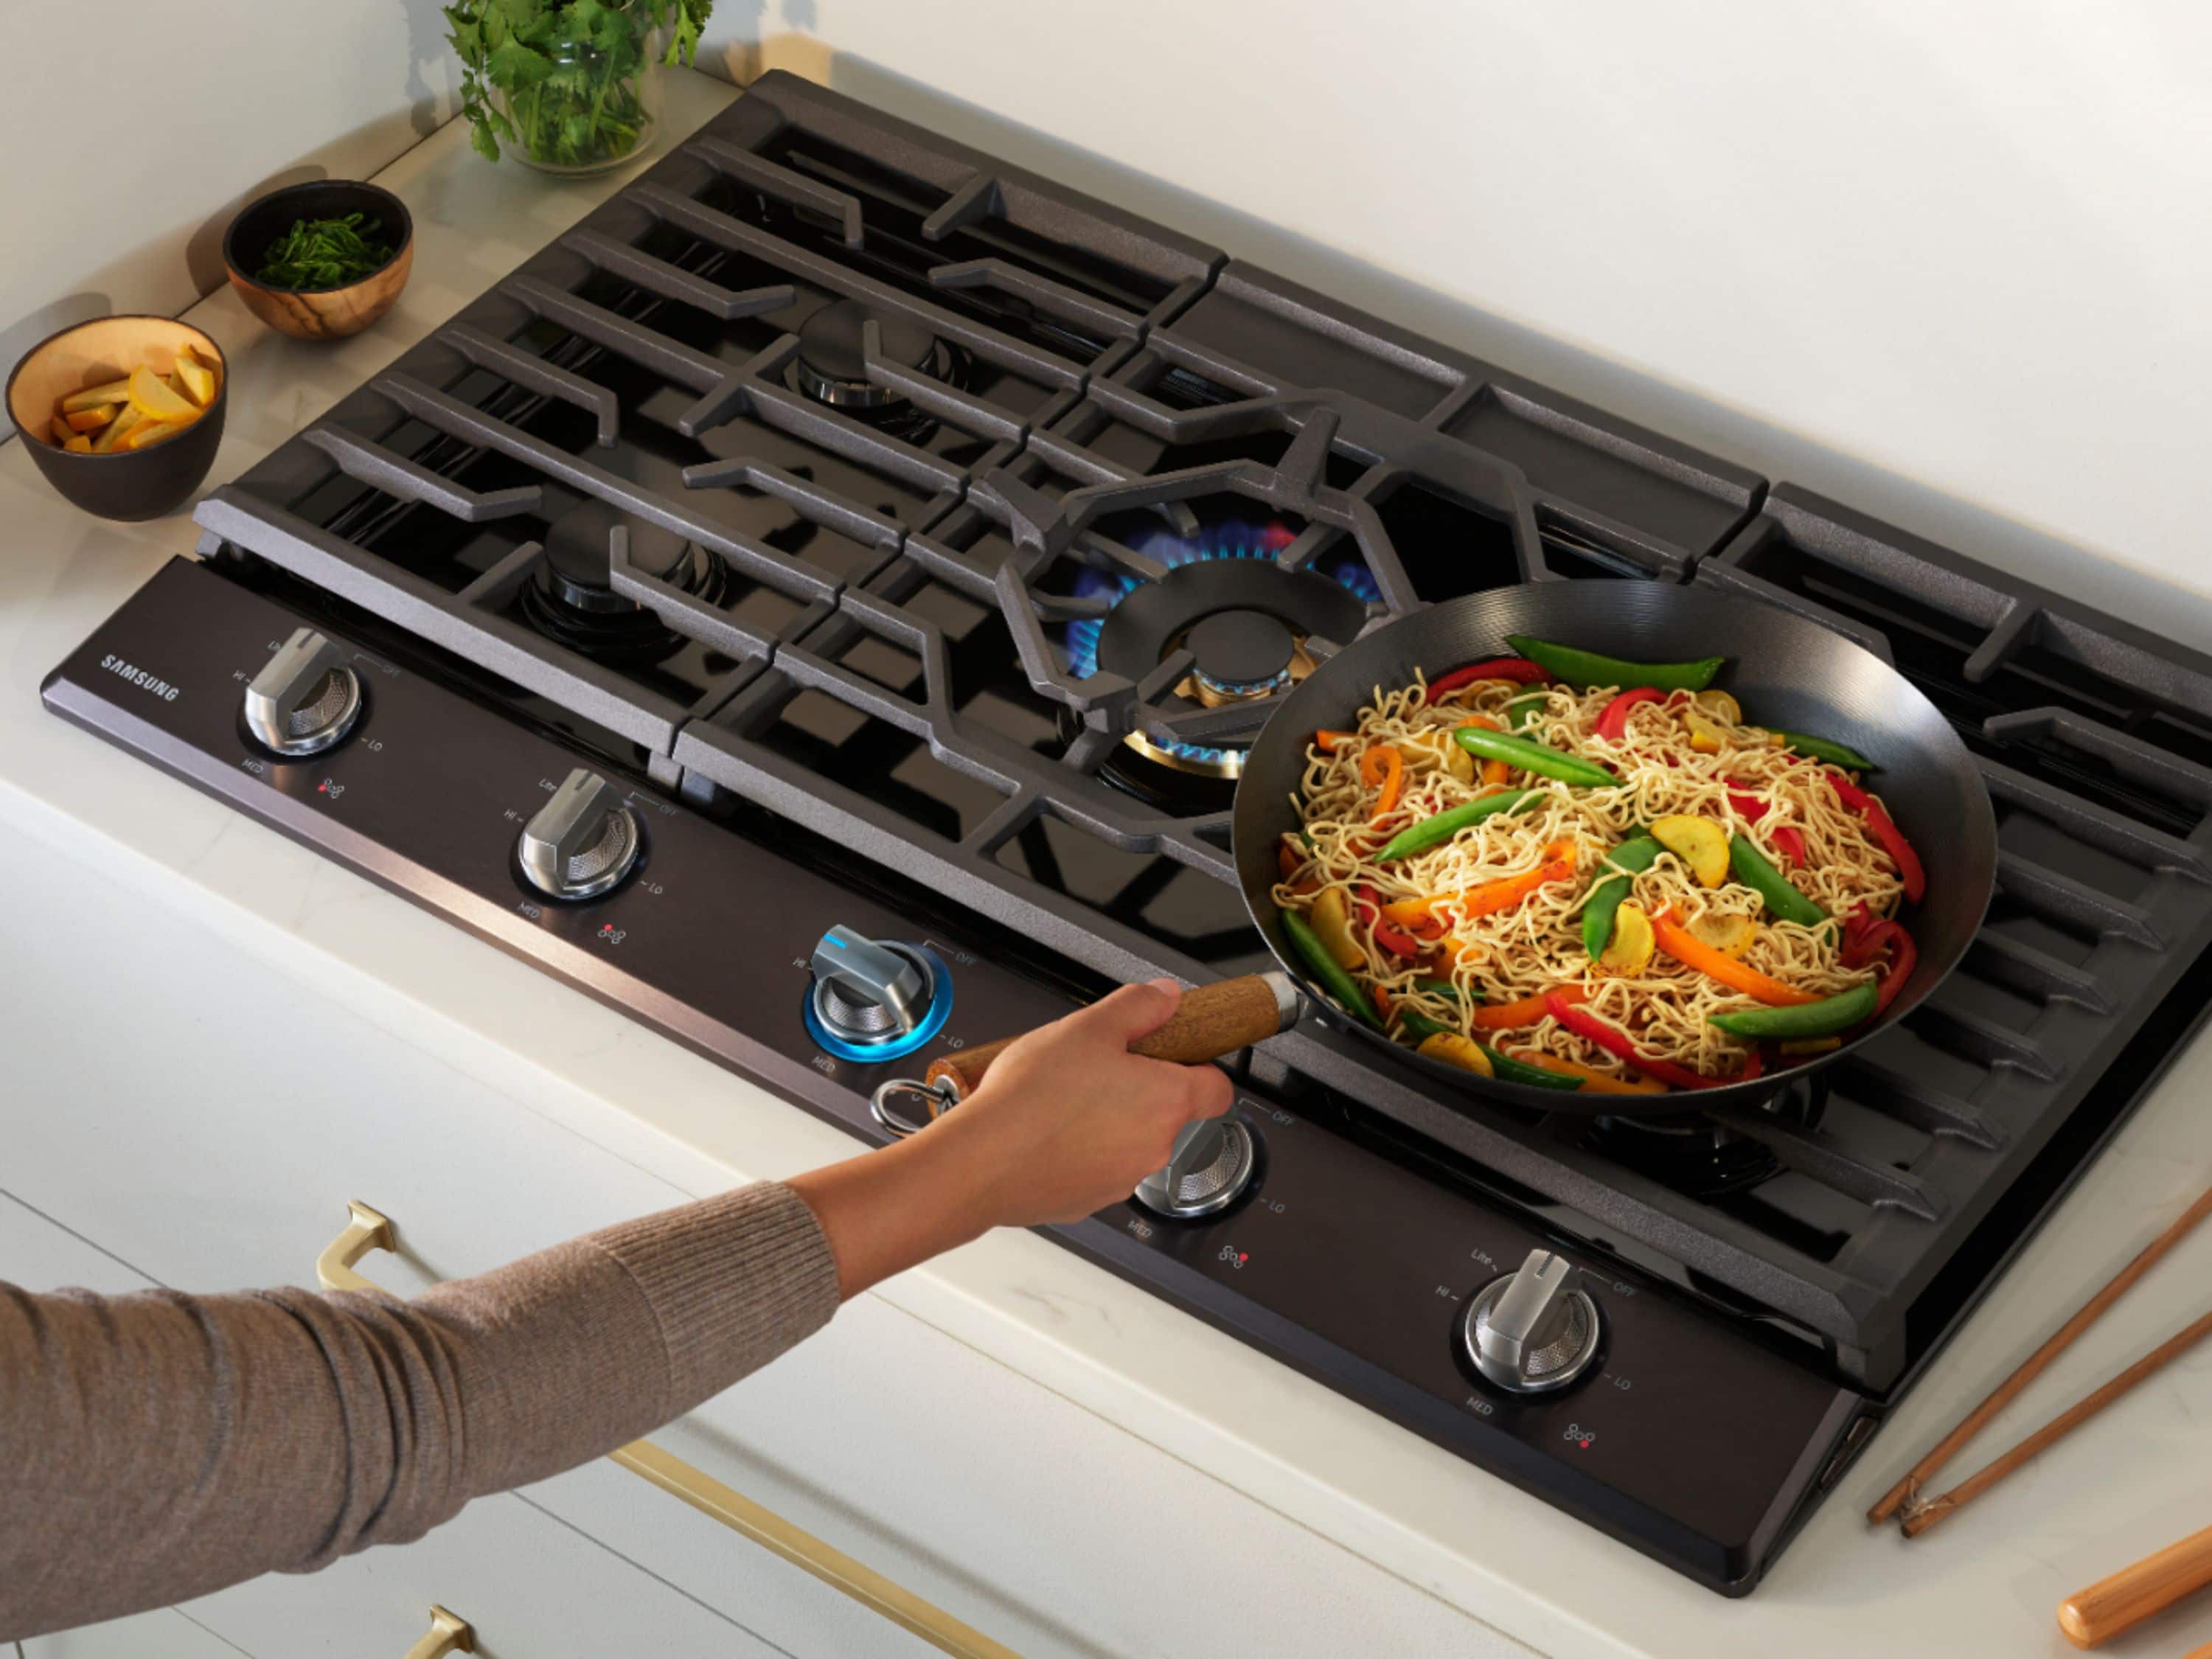
How to Clean Your Gas Range Top Safely and Effectively

A clean gas range top does more than make your kitchen look tidy. It helps your appliance ignite properly, heat evenly, and stay in better condition over time. Grease, food splatters, and carbonized residue can build up around burner heads, grates, and ports. When that buildup is left in place, it can lead to uneven flames, delayed ignition, yellow flame tips, and stubborn baked on messes.
Regular cleaning also helps protect your cooktop finish. Acidic spills, such as tomato sauce or vinegar, can affect stainless steel or enamel if they sit too long. Wiping spills once the surface is cool and deep cleaning removable parts on a routine schedule can help extend the life and appearance of your range.
What You’ll Need to Clean a Gas Range Top
- Mild dish soap
- Warm water
- Baking soda
- White vinegar
- Microfiber cloths
- Soft sponge or nonabrasive scrub pad
- Soft toothbrush
- Paper clip or needle for burner ports
- Vacuum with soft brush attachment
- High smoke point oil for cast iron grates, if needed
- Stainless steel brightener, if applicable
Step 1: Safety Prep Before Cleaning
Safety is the foundation of any successful appliance maintenance project. Before you reach for your cleaners, follow these preparation steps to protect both yourself and your range.
Ensure the Cooktop Is Completely Cool
Never attempt to clean a gas range while it is still warm from cooking. Every component, including the surface, burner caps, and grates, must be completely cool to the touch. Cleaning a hot stove is a burn risk and can cause cleaning solutions to evaporate too quickly or bake onto the surface.
Confirm All Knobs Are in the OFF Position
Before removing any components for cleaning, double check that every control knob is set to the OFF position. This helps prevent accidental gas release or ignition during the disassembly process.
Turn Off the Gas Supply for Deep Cleaning, If Needed
For routine surface cleaning, make sure every knob is in the OFF position and the cooktop is completely cool. For deeper cleaning involving burner heads, ports, or secured parts, follow your appliance manual’s safety instructions. If your manual recommends shutting off the gas supply, do so before continuing.
Pro Tip: Snap a Reference Photo
Modern gas ranges often feature burner heads and caps that vary in size and placement. Before removing parts, take a quick photo of your cooktop with your phone. This visual reference makes reassembly faster and helps ensure every component is seated correctly.
Step 2: Carefully Remove Grates, Caps, Heads and Knobs
Once your range is completely cool, carefully disassemble the removable components for a thorough clean. Proper removal helps prevent accidental damage to delicate parts like igniters or D shaped inserts in control knobs.
Removing Grates and Burner Caps
Start by lifting the grates directly off the cooktop surface. Because high end cast iron grates can be heavy, place them immediately into a shallow tray or plastic tote to prevent countertop scratches. Next, lift the burner caps off the burner bases.
Removing Burner Heads
Some burner heads lift straight off the cooktop, while others are secured in place. Only remove burner heads or burner bases if your appliance manual says they are designed to be removed for cleaning.
- Check your manual first: If a burner base does not lift easily, do not force it.
- Avoid disturbing wires: Some models have ignition wires beneath the burner base. Pulling or lifting the part incorrectly can damage the ignition system.
- Do not remove secured parts unless instructed: If screws or fasteners are present, follow the manufacturer’s instructions before attempting removal.
Expert Guide to Removing Control Knobs
Removing the knobs allows you to clean the manifold panel where grease frequently pools. Following the correct technique here is vital for preserving the look and function of your range.

Note: How to Handle Knobs Safely
To avoid costly damage, pull each knob straight off its shaft. Do not pry, twist, or rock the knobs. Prying with screwdrivers or pliers can crack the plastic D shaped insert that allows the knob to grip the metal shaft. Excessive force can also damage the internal switch body or wear down printed temperature markings.
- For Stuck Knobs: If a knob feels glued in place, it is likely due to dried grease rather than a mechanical lock. Wrap the knob in a warm, damp cloth for two to three minutes to soften the residue before pulling it straight off again.
By organizing these components in a tray or bin as you go, you can prevent small parts from going missing and make reassembly smoother later.
Step 3: Soak the Grates and Burner Caps
Soaking grates and burner caps helps loosen sticky grease, burnt food, and carbonized residue before scrubbing. This makes cleaning easier and helps reduce the need for abrasive tools.
The Standard Cleaning Method
- Soak the removable parts: Place grates and burner caps in a sink, shallow tray, or large plastic tote filled with hot water and mild dish soap. Let them soak for at least 20 minutes.
- Treat heavy buildup: For stubborn residue, mix three parts baking soda with one part water to form a paste.
- Let the paste sit: Apply the paste to affected areas and let it sit for about 20 minutes.
- Scrub gently: Use a soft sponge, soft bristle brush, or nonabrasive scrub pad to remove loosened grime.
- Rinse and dry completely: Rinse each piece under clean water and dry thoroughly before reinstalling.
Step 4: Cleaning Specialty Burner Materials
Premium gas ranges often feature specialized materials like brass and cast iron that require specific care to maintain their high end performance and appearance.
How to Clean Brass Burner Caps
Brass burner caps are prized for their elegant appearance, but they naturally darken or develop black discoloration from high heat. Restoring their finish requires the right cleaning method.
- Use a vinegar soak: To remove heat related discoloration, soak brass caps in a solution of white vinegar and water.
- Rinse thoroughly: Rinse the caps in clean water to remove any remaining acidic solution.
- Polish for high shine: Use a brass safe cleaner if your manual allows it.
- Dry completely: Make sure the caps are fully dry before reinstalling.
How to Clean Cast Iron Grates
Cast iron grates are durable, but they can rust if moisture is left behind after cleaning. Always dry them thoroughly before placing them back on the range.
- Prevent rust: Towel dry grates immediately after washing and allow them to air dry fully.
- Season if recommended: If your manual allows seasoning, apply a very thin layer of high smoke point oil to the clean, dry grates.
- Bake to set: Place the oiled grates in an oven at 350°F for 45 minutes to one hour, using a baking sheet or foil below to catch drips.
Step 5: Clean the Gas Range Surface
The main surface of your cooktop is the visual anchor of your kitchen. Whether you have stainless steel or enamel, using the correct method helps protect the finish while removing grease and residue.
For Stainless Steel Range Tops
- Wipe with the grain: Identify the direction of the stainless steel grain and wipe in that direction.
- Use a mild cleaner: Warm water, mild dish soap, and a microfiber cloth are usually enough for routine grease and fingerprints.
- Treat discoloration carefully: For yellowing, rust colored marks, or heat discoloration, use a stainless steel brightener made for appliance surfaces.
- Avoid abrasive tools: Do not use steel wool, metal brushes, or coarse scouring pads.
For Enameled Range Tops
- Use a gentle cream cleanser or baking soda paste: These options help cut through grease without harsh scrubbing.
- Allow dwell time: For stubborn baked on residue, let the cleaner sit for 5 to 20 minutes.
- Wipe with a microfiber cloth: Once grime is loosened, wipe it away and buff the surface dry.
- Avoid steel wool and harsh scrubbers: Coarse tools can scratch enamel and make future grease buildup harder to remove.

Step 6: Clear Clogged Burner Ports for Peak Performance
Maintaining clear burner ports is important for performance. Blockages can lead to poor heating efficiency, uneven flames, yellow tips, delayed ignition, and potential gas buildup.
Identifying Performance Issues
- Uneven Flames: The flame does not form a complete, consistent circle around the burner.
- Yellow Tips: Instead of a stable blue flame, you see yellow or orange tips.
- Delayed Ignition: The burner takes longer than usual to light or clicks excessively before catching.
Precision Cleaning Technique
- Select the right tool: Use a straightened paper clip, fine needle, or small gauge wire.
- Clear the blockage: Carefully poke the tool through each port to loosen residue.
- Use a gentle touch: Do not force the tool or enlarge the ports.
Once visible blockages are cleared, wipe the burner surface with a soft cloth before reassembling. For households that cook often, check burner ports every two to four weeks.
Step 7: Clean Stove Knobs Without Damaging the Labels
Cleaning stove knobs is about more than hygiene. It also protects the markings you need to operate your appliance safely. Because these labels are often printed rather than etched, they can be damaged by heat, grease, abrasion, or harsh cleaners.
1. Remove Knobs Carefully
Before cleaning, ensure the range is cool and all knobs are in the OFF position. Pull each knob straight off the metal shaft. Never twist, rock, or pry the knobs.
2. Use Mild Soap and Warm Water Only
A mixture of mild dish soap and warm water is the safest cleaning solution for most stove knobs. It cuts through grease without the chemical harshness that can damage label coatings.
3. Wipe Gently with a Microfiber Cloth
Use a soft microfiber cloth dipped in soapy water to clean the knobs. When cleaning the printed face, use a barely damp cloth and light pressure. For stubborn grease, let the damp cloth sit briefly to soften residue instead of scrubbing.
4. Detail the Back and Inner Cavity
The back and inner cavity often collect hidden grease. Use a soft toothbrush to gently scrub the inside of the D shaped cavity where cooking spatter can accumulate.
5. Critical Cleaners and Tools to Avoid
- Abrasives: Never use steel wool, scouring pads, or baking soda paste on the printed face.
- Harsh Chemicals: Avoid vinegar, ammonia, and citrus based cleaners on printed labels.
- Magic Erasers: These clean through micro abrasion and can strip printed markings.
- The Dishwasher: Do not put knobs in the dishwasher unless the manual clearly allows it.
6. Dry Completely and Reinstall
Thoroughly towel dry the knobs with a clean microfiber cloth and allow them to air dry completely before reassembling. Align the flat side of the knob’s inner cavity with the flat side of the metal shaft and push straight back on while in the OFF position.
Step 8: Dry and Reassemble the Range Top
Proper drying is one of the most important parts of reassembly because trapped moisture can interfere with ignition. Before putting your stove back together, make sure burner heads, caps, grates, and knobs are fully dry to the touch.
When replacing burner caps, align them so they sit flat and flush against the burner base. If your model uses alignment pins, make sure they are properly positioned. This helps gas flow evenly through the ports for a safe, consistent flame.
Return the control knobs by lining up the flat side of the inner D shaped cavity with the flat side of the shaft. Once the range is fully reassembled, test each burner to confirm it produces a stable blue flame without flickering or yellow tips.
How Often Should You Clean a Gas Range Top?
Daily Maintenance: Prevent Baked On Messes
- Wipe after each use: Once the cooktop has cooled, wipe with a damp microfiber cloth.
- Handle spills promptly: Clean acidic spills like tomato sauce or vinegar once the surface is safe to touch.
- Use simple solutions: Mild dish soap and warm water are usually enough for daily upkeep.
Weekly Check Ins: Keep Surfaces Pristine
- Knob and panel care: Wipe control knobs and the manifold panel with a damp microfiber cloth.
- Surface polish: Wipe stainless steel in the direction of the grain to maintain a clean finish.
Monthly Deep Cleaning: Restore Performance
- Soak removable parts: Soak grates, burner caps, and removable burner heads in hot soapy water.
- Clear the ports: Inspect burner ports and clean them gently with a needle, straightened paper clip, or small gauge wire.
- Adjust based on cooking habits: If you cook often with oil, sauce, or high heat, deep clean every one to two weeks.
As Needed Specialty Care
- Brass restoration: Treat brass burner caps with a vinegar soak or approved polish when you notice black discoloration.
- Cast iron seasoning: Season cast iron grates only if your manual allows it.
- Stainless steel brightening: Use a stainless steel brightener as needed for heat discoloration or stubborn marks.
- Performance warning: If you notice uneven or yellow flames, clear burner ports immediately.
What Not to Use on a Gas Range Top
Using the wrong cleaner or tool can scratch the surface, erase knob markings, damage finishes, or interfere with ignition. Avoid the following unless your appliance manual specifically says otherwise.
- Bleach
- Steel wool
- Abrasive scouring pads
- Magic Erasers on printed knobs
- Dishwasher cleaning for knobs or burner caps unless the manual allows it
- Toothpicks for burner ports
- Direct sprays near control panels
- Harsh acidic cleaners on sensitive finishes
Troubleshooting After Cleaning
Burner Won’t Ignite
If a burner will not ignite, residual moisture is the most common cause. Make sure burner heads and caps are completely dry. Also verify that the burner cap is seated flush and that the igniter area is free from debris, lint, or dampness.
Flame Is Yellow or Uneven
A yellow or uneven flame may indicate that gas flow is blocked or that the burner cap is not seated properly. Clear clogged ports with a needle or straightened paper clip and make sure the cap is properly aligned. If the issue continues, contact a qualified service technician or gas supplier.
Brass Caps Discolor Quickly
Brass burner caps naturally darken over time from heat exposure. If they blacken immediately after each use, the issue may be excessive soot or an improper flame pattern. This can indicate a combustion or air to gas mixture issue that should be checked professionally.
Final Maintenance Tips
Address Spills Promptly
The best way to prevent baked on messes is to clean spills once the cooktop and stain have cooled. This is especially important for acidic foods like tomato sauce or vinegar, which can damage finishes if left sitting.
Commit to a Monthly Deep Clean
Daily wipes handle surface messes, but a monthly deep clean helps remove carbonized residue and grease around burner hardware. Regular burner port care also helps support better ignition and more consistent flame patterns.
Prioritize Thorough Drying
Removable parts, especially burner heads, caps, and grates, must be completely dry before reassembly. Trapped water can prevent the igniter from sparking properly and can cause rust on cast iron components.
Use Material Specific Cleaning Methods
- Stainless Steel: Wipe in the direction of the grain and use appliance safe brighteners when needed.
- Brass: Use a vinegar soak or approved polish to remove heat related discoloration.
- Cast Iron: Dry thoroughly and season only if your appliance manual allows it.
Avoid Damaging Abrasives
- Avoid steel wool and scouring pads: These can leave permanent scratches.
- Protect printed labels: Do not use Magic Erasers, baking soda paste, or dishwasher cleaning on control knobs.
- Safety first: Never use wooden toothpicks to clear burner ports.
Conclusion
Keeping your gas range top clean is one of the simplest ways to protect its appearance, support safer ignition, and maintain consistent cooking performance. With regular wipe downs, monthly deep cleaning, and the right care for stainless steel, enamel, brass, and cast iron components, you can prevent stubborn buildup and keep your range looking its best for years to come.
Upgrade Your Kitchen with ShopAppliances.com
When it is time to upgrade your kitchen with a reliable, high performance gas range, explore premium cooking appliances at ShopAppliances.com and find the perfect model for your home.
- Shop gas ranges, dual fuel ranges, and pro style cooking appliances
- Compare stainless steel, enamel, brass, and cast iron cooking features
- Find trusted brands for everyday home cooking and premium kitchen design
- Get expert support when choosing the right range for your kitchen
FAQs
Can I put gas stove grates in the dishwasher?
Only if your appliance manual says it is safe. Otherwise, hand wash grates with warm water and mild dish soap to protect the finish and prevent rust.
How do I remove burnt on grease from a gas range top?
Start with hot soapy water, then use a baking soda paste for stubborn buildup. Let the paste sit before gently wiping with a soft sponge or microfiber cloth.
How do I clean clogged gas burner holes?
Use a needle, straightened paper clip, or small gauge wire. Do not use toothpicks because they can break inside the port and block gas flow.
How do I clean stove knobs without removing the labels?
Use mild dish soap, warm water, and a soft microfiber cloth. Avoid scrubbing the printed face, and never use Magic Erasers, harsh chemicals, or the dishwasher on printed knobs.
Why is my gas burner flame yellow after cleaning?
The burner ports may still be clogged, the cap may be misaligned, or the parts may not be fully dry. If the flame remains yellow after cleaning and reassembly, contact a qualified professional.
Read More
- How to Clean Refrigerator Coils to Lower Energy Bills and Boost Efficiency
- Café vs Viking French Door Wall Ovens: Which Luxury Oven Is Best for Your Kitchen?
- Energy Efficiency Through the Decades: How EPA Standards Changed Appliance Manufacturing
- The Ultimate Guide to Coin Operated Laundry Machines and Top Commercial Brands
- The History of the Washing Machine: How We Moved from Scrub Boards to App Controlled Laundry