How to Measure for a Professional Range (Complete Buying and Planning Guide)

Choosing a professional range is one of the most impactful upgrades you can make in your kitchen, both in terms of performance and design. Whether you're considering a 36 inch professional range, comparing gas vs dual fuel options, or planning a full remodel, accurate measurements and proper planning are essential. Unlike standard ranges, professional models are larger, heavier, and require more thoughtful installation.
To ensure a seamless fit, you need to evaluate not just the width of your space, but also depth, height, ventilation requirements, utility connections, and delivery access. Overlooking any of these factors can lead to installation delays or additional costs.
This guide breaks down each step so you can confidently choose a pro-style range that fits your kitchen and meets your cooking needs.
What Is a Professional Range?
A professional range, also known as a pro-style range, is designed to deliver commercial-level cooking performance in a residential setting. These appliances are built with higher power output, larger cooking capacity, and more durable materials compared to standard ranges, making them ideal for serious home cooks.
They are engineered for both performance and longevity, offering precise temperature control and the ability to handle high-demand cooking tasks.
Professional ranges are available in standard sizes to suit different kitchen layouts:
- 30 inch: The standard entry point for professional-style performance in typical kitchens.
- 36 inch: A popular choice for homeowners wanting an extra burner or element.
- 48 inch: Advanced models that frequently feature side-by-side double ovens and specialized cooktop additions like griddles.
- 60 inch: Luxury-tier ranges offering two full-sized ovens and extensive cooktop real estate.
Because of their increased power and size, they typically require stronger ventilation, proper gas supply, and more detailed installation planning than standard ranges.
Step 1: Measure the Width of Your Space
The width of your cabinet opening is the most critical measurement when selecting a professional range. This dimension determines which size range will fit into your kitchen without requiring structural modifications. Even small measurement errors can lead to installation challenges, so accuracy is essential.
You should measure the space from left to right between cabinets, excluding any trim, molding, or countertop overhang.
| Size | Ideal Use |
|---|---|
| 24-inch | Designed for smaller kitchens or ADUs that still need full cooking functionality. |
| 30-inch | The standard size for most residential kitchens and standard upgrades. |
| 36-inch | Favored by serious home cooks wanting an extra burner or element. |
| 48-inch | Large models for advanced cooks, often featuring side-by-side double ovens. |
| 60-inch | Luxury format featuring two full-sized ovens and wide griddle spaces. |
The "Nominal" vs. "Actual" Width
A key technical detail for installation is that ranges are intentionally designed to be slightly smaller than their advertised, or nominal, width.
- Wiggle Room: A range marketed as 30 inches is typically 29.8 inches or 29-7/8 inches wide.
- Standard Cutouts: This intentional undersizing ensures the unit can slide into a standard 30-inch cutout without friction.
Important Measurement Steps
- Remove the Current Range: Carefully unplug and remove your existing appliance to access the entire cutout for the most accurate measurements.
- Measure Cabinet-to-Cabinet: Measure the width of the opening from one cabinet face to the other.
- Check Front and Back: Measure the width at both the front and the back of the cutout to ensure the opening is square. If the measurements differ, always use the smaller dimension to determine if the range will fit.
- Account for Countertop Overhangs: If your countertops extend past the cabinet face into the cutout area, measure the width between the countertops, as this overhang can obstruct the range during installation.
- Check for Obstructions: Ensure that cabinet doors or hinges do not extend into the cutout area, as this can prevent the range from sliding back completely.
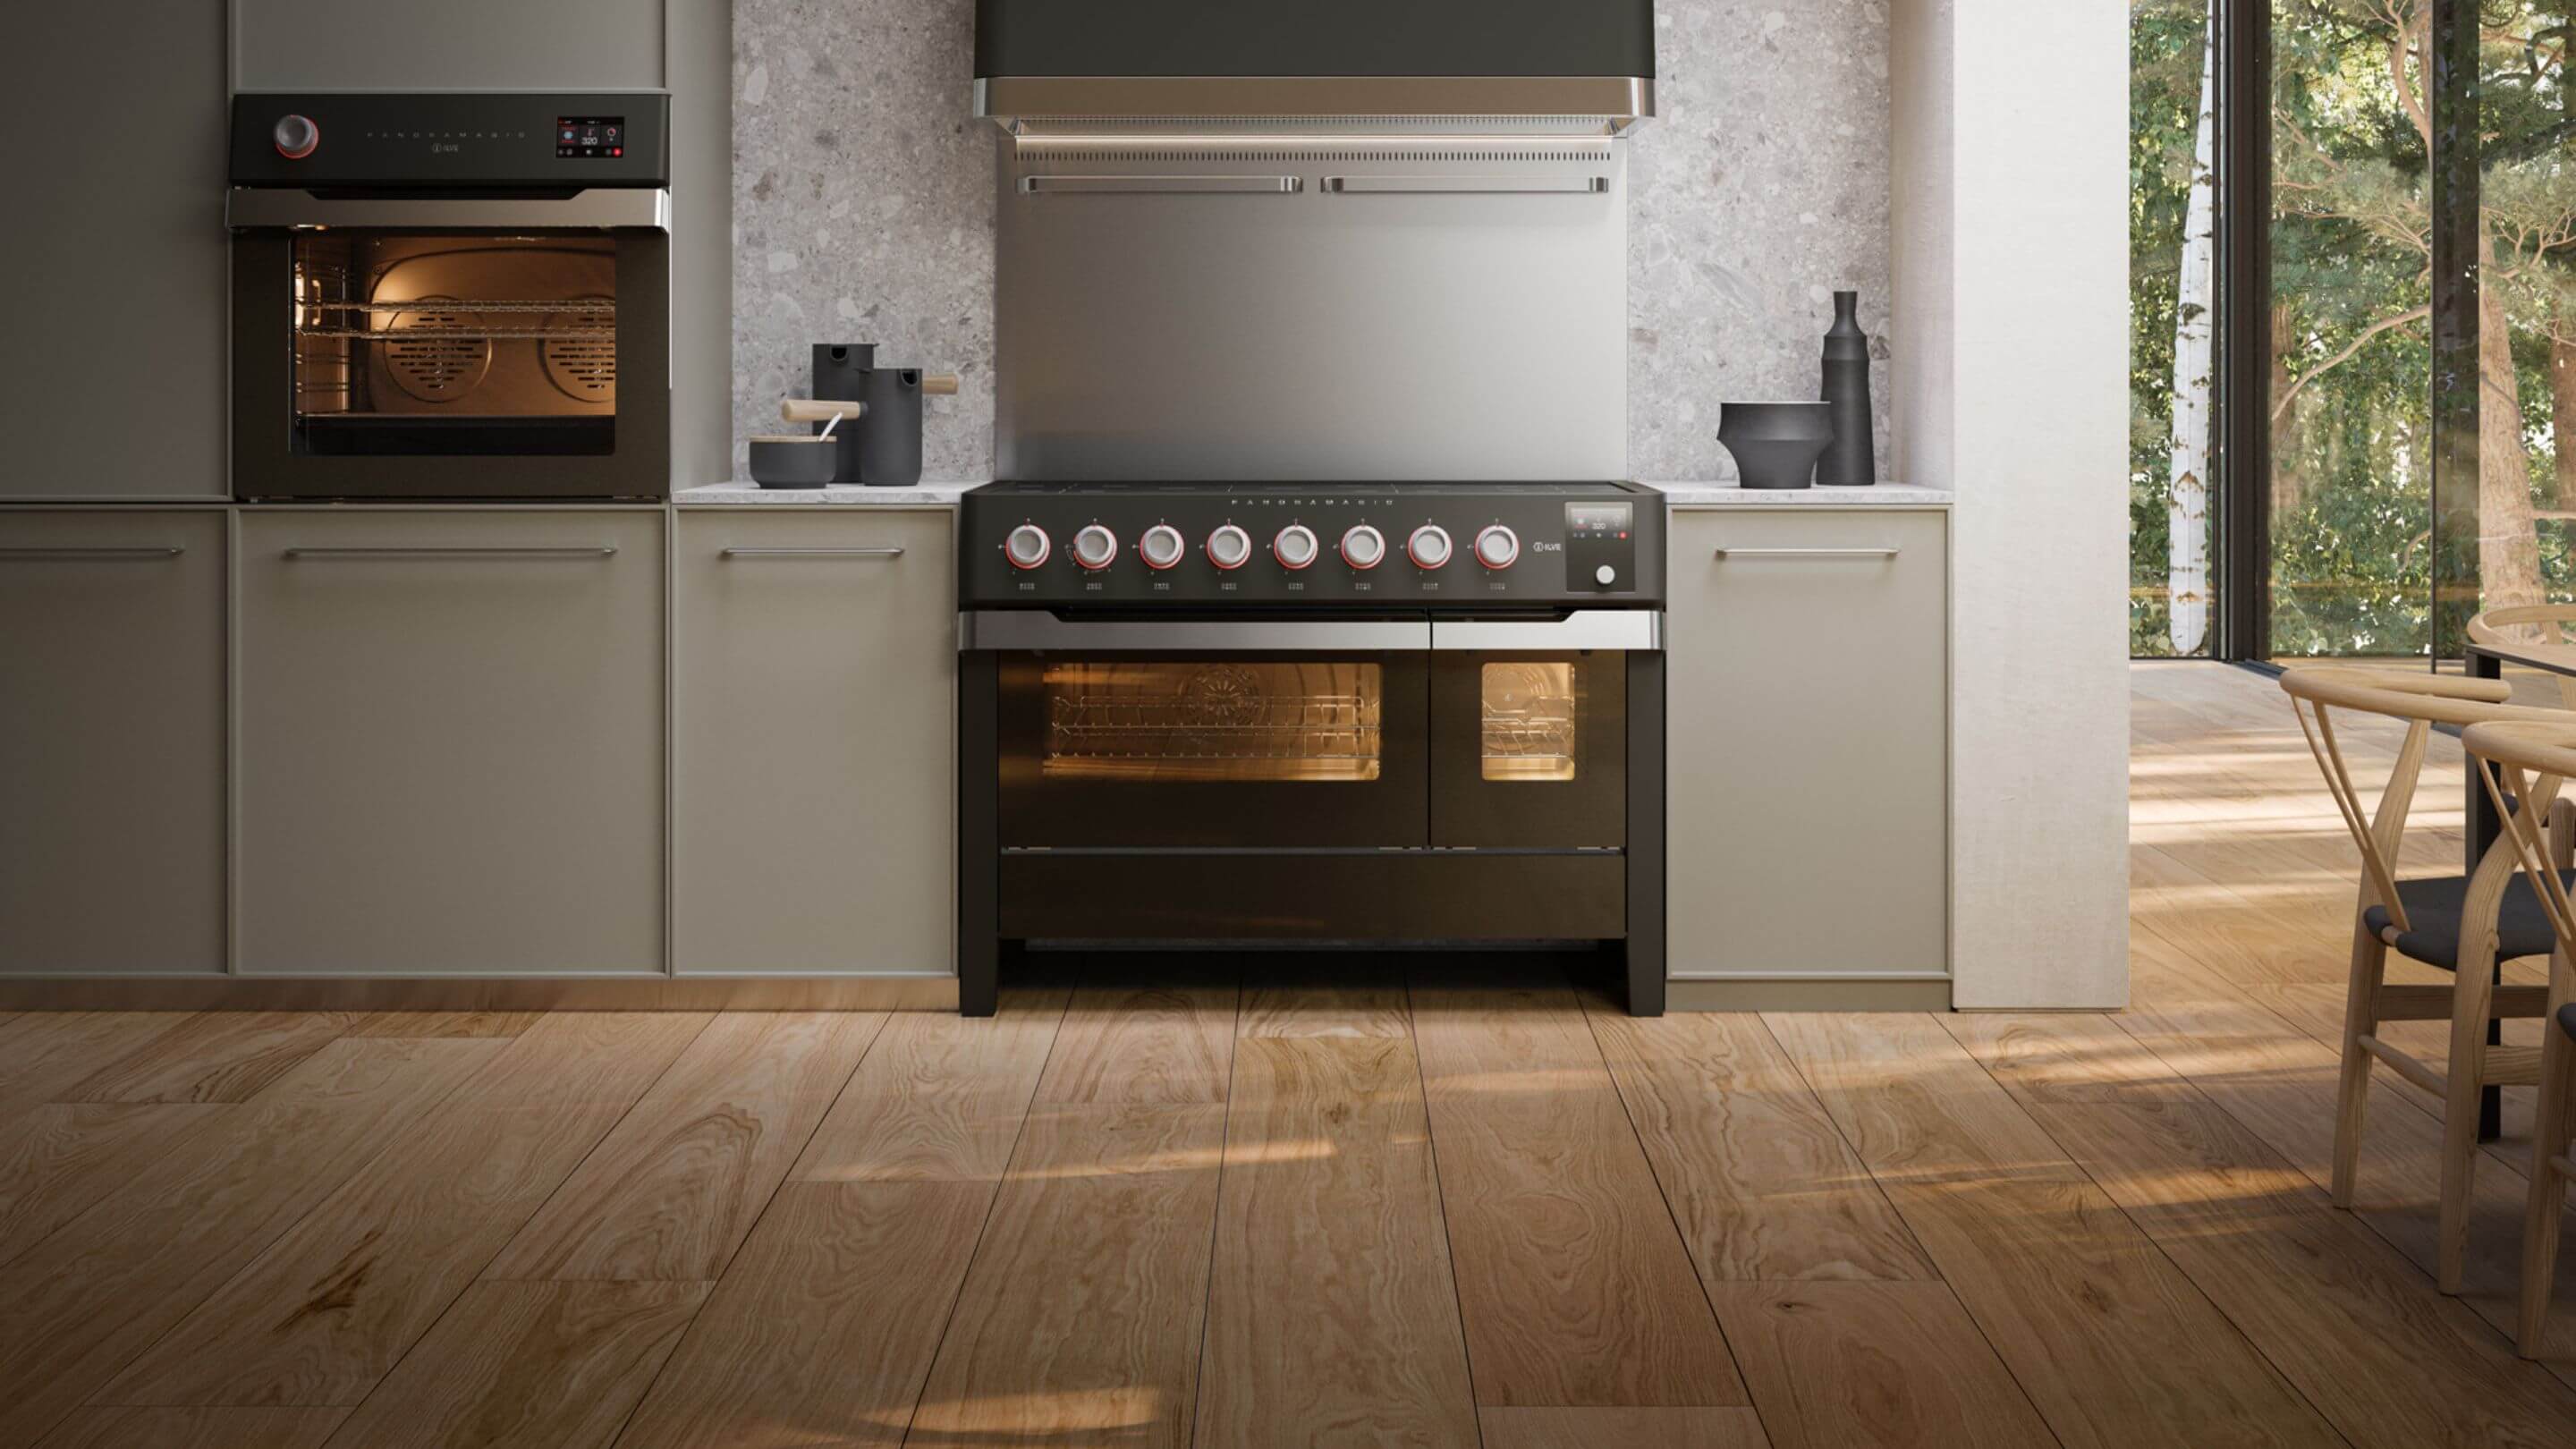
Real-World Example: ILVE 48-Inch Professional Range Fit
To understand how nominal vs actual sizing works in practice, let’s look at a real model:

The ILVE UPI486WMPSS 48-inch Professional Plus II Induction Range is marketed as a 48-inch unit, but like most professional ranges, its actual width is slightly smaller to allow proper installation.
- The unit is designed to fit a standard 48-inch cabinet cutout
- The actual width is slightly under 48 inches, allowing smooth installation without forcing the appliance
This clearance ensures:
- Easier placement during installation
- Proper alignment with surrounding cabinetry
- Reduced risk of damage to cabinets or the appliance
Step 2: Measure the Depth Carefully
Depth is a commonly overlooked measurement, but it plays a major role in how the range integrates with your kitchen layout. Professional ranges are deeper than standard models, especially when you include handles and control knobs.
Most kitchens are designed with a standard cabinet depth, but pro-style ranges often extend slightly beyond this, which is both normal and intentional.
Be Sure to Account For
- Gas line connections behind the unit: To ensure the range sits as flush as possible, the gas supply line, typically a 3/4-inch rigid pipe or a 4 to 5-foot flexible metal connector, must be positioned correctly within the cabinet cutout. A manual gas shut-off valve must be installed in an easily accessible location that is not obstructed by the range itself. All strain must be removed from the supply and fuel lines so the unit remains level and properly aligned.
- Electrical outlets and cords: The type of receptacle used can determine if a range fits perfectly against the wall. Flush-mounted 240V receptacles are ideal, whereas surface-mounted outlets often prevent the range from sliding back all the way.
- Adequate airflow space: Gas ranges, in particular, may require slightly more space behind the unit to accommodate necessary venting and hookups. Leaving a half-inch to an inch of clearance in the back and on the sides can help accommodate these connections and provide necessary airflow.
- Overhead clearance: For standard cooking surfaces, a minimum of 30 inches of vertical clearance is required between the cooking platform and the bottom of an unprotected wood or metal cabinet. This can be reduced to 24 inches if the cabinet bottom is protected by specified flame-retardant materials and sheet metal.
Failing to leave enough room behind the range can impact both safety and performance.

Step 3: Confirm Height and Counter Alignment
Ensuring your professional range aligns properly with your countertop height is key to both aesthetics and functionality. Most kitchen countertops are approximately 36 inches high, and professional ranges are designed to match this standard.
However, variations in flooring or cabinetry can affect the final fit, so measuring accurately is important.
What to Measure
- Floor to countertop height: Check the vertical distance from the kitchen floor to the top of your countertop, and verify your specific measurement ensures the range will sit flush with your work surfaces.
- Floor level and any uneven surfaces: To account for this, take one height measurement at the front of the range cutout and another at the back.
- Clearance above the cooking surface: Measure the vertical gap between the top of the cooking platform and any overhead obstructions. For safety, a minimum of 30 inches is required between the cooking surface and the bottom of an uncovered wood or metal cabinet.
Installation Considerations
- Adjustable legs for height adjustments: Most professional-style and standard ranges come equipped with leveling legs to help you match the height of your countertops perfectly. For example, some models have an adjustment range that can add up to 1.5 inches (3.8 cm) of height when the legs are fully extended from their lowest position.
- Leveling on uneven flooring: If your floor measurements indicate an unlevel surface, you must use the adjustable leveling legs to bring the range to a level position. It is critical that all strain is removed from gas and fuel supply lines so the range can be properly aligned and sit level in its designated space.
- Seamless built-in appearance: To achieve a premium, built-in look, ensure your cutout dimensions match the manufacturer's specifications. For a flush fit, confirm that cabinet doors or hinges do not extend into the cutout area, as this can prevent the range from sliding back completely.
A correctly aligned range improves cooking safety and makes cleaning easier around the appliance.
Step 4: Plan Ventilation Properly
Ventilation is one of the most important factors when installing a professional range. These appliances produce significantly more heat, smoke, and grease than standard ranges due to their higher BTU output.
Without proper ventilation, your kitchen can quickly become uncomfortable, and grease buildup can become a long-term issue.
1. Calculate Required Airflow (CFM)
- BTU rule of thumb: For pro-style ranges, you need 1 CFM for every 100 BTUs of total burner output.
- Heavy-duty features: If your pro range includes specialized components like grills, griddles, or wok burners, ventilation requirements often increase to 900 to 1,200 CFM.
- Specific high-heat units: Certain specialized indoor grills recommend a minimum of 1,000 CFM and advise against using mesh filters.
2. Measure for Proper Hood Size
- Width: The width of your range hood should be at least equal to the width of the range to effectively capture smoke and steam.
- Standard estimates: A secondary guideline is 100 CFM for every 10 inches of stove width, though the BTU calculation is more accurate for professional models.

To ensure a professional range operates safely and effectively, you must measure for ventilation based on the unit’s power output, physical dimensions, and kitchen placement.
Step 5: Measure Your Delivery Path
Even if your kitchen measurements are perfect, your professional range still needs to make it into your home. Because these appliances are large and heavy, delivery access must be carefully planned in advance.
Professional ranges can weigh anywhere from 250 to over 500 pounds, making maneuverability a key concern.
Measure All Access Points
- Trace the route: Start at your home's primary entrance and follow the exact path through every hallway and doorway to the final installation location.
- Measure widths: Use a tape measure to record the width of every opening along this path.
- Doorway clearance tip: If a doorway is too narrow, check the manufacturer's notes. For many professional models, oven doors can be removed to provide extra clearance.
Additional Considerations
- Installers may remove doors, handles, or grates.
- Tight corners can be more restrictive than narrow doorways.
- Elevators or multi-floor access may require extra planning.
Before the appliance arrives, you should physically trace the route it will take from the delivery truck to your kitchen cutout. Proper delivery planning prevents delays and avoids unexpected complications on installation day.
Step 6: Check Gas and Electrical Requirements
Professional ranges often require upgraded utility connections compared to standard models. Understanding these requirements ahead of time ensures your kitchen is properly prepared before installation.
Gas Requirements
- High-capacity supply line: To support professional-grade burners that can reach up to 20,000 BTUs each, a 3/4-inch (1.9 cm) rigid gas pipe should be run to the range location.
- Accessible shut-off valve: A manual gas shut-off valve must be installed in an easily accessible location that is not obstructed by the range itself.
- Pressure regulation: The range must be used with the manufacturer-supplied pressure regulator to maintain consistent input, typically between 5" and 14" water column pressure for natural gas.

Electrical Requirements
- Dual fuel power needs: Dual fuel models require a much more powerful 240V/208V, 4-wire, 60 Hz electrical supply. Depending on the size and oven configuration of the professional range, this may require a dedicated circuit rated for 35, 40, or 50 amps.
- Grounding and polarity: For many professional models, the control panel and keypads will not operate if the metal chassis is not correctly grounded.
- Receptacle placement: To achieve a seamless, built-in appearance where the range sits flush against the wall, installers recommend using flush-mounted receptacles.
Always verify the exact requirements with the manufacturer or installer before purchasing your range.
Why Homeowners Choose Professional Ranges
Professional ranges are popular because they often offer a combination of performance, durability, and design that standard ranges cannot match. They are built for homeowners who cook frequently and want greater control over their cooking results. These ranges are often commercial-inspired, designed to fit mostly flush with countertops while offering advanced features for serious home cooks.
Advanced Performance and Precision
- High-heat power: Professional models feature high-output burners that frequently reach 18,000 to 20,000 BTUs, which allow for commercial-grade searing and significantly faster boiling times.
- Superior distribution: Many professional models are engineered to distribute heat more evenly across the base of large pans, preventing hot spots during delicate tasks like simmering.
- Dual-fuel advantage: They combine the immediate control of gas burners with the consistent, even dry heat of an electric oven, which is preferred for precision baking.
Robust Design and Durability
- Commercial construction: These ranges are built with heavy-duty materials, such as long-lasting stainless steel and rugged cast-iron grates, intended to withstand the rigors of frequent, high-heat cooking.
- Expanded capacity: Pro-style ranges offer significantly more cooking real estate. Widths can reach up to 66 inches, often featuring dual ovens in side-by-side configurations that can accommodate professional catering pans.
For serious home cooks, a professional range is both a functional upgrade and a long-term investment in the kitchen.
Frequently Asked Questions
How much space do you need for a professional range?
You need a properly sized cabinet opening for standard widths such as 30, 36, 48, or 60 inches. You should also account for depth, height, ventilation, and installation clearance.
Do professional ranges require special ventilation?
Yes. Due to higher heat output, most require a 600 to 1200 CFM range hood vented outside.
How deep are professional ranges?
Typically 24 to 27 inches for the body, and up to 30 inches including handles.
Will a professional range stick out from cabinets?
Yes. A slight extension is normal due to front controls and handles.
What BTU range should I look for?
High heat ranges from 15,000 to 20,000 BTU, standard cooking from 5,000 to 10,000 BTU, and simmer burners can go as low as 500 BTU.
Are professional ranges worth it?
They are worth it for serious cooks who want higher performance, durability, and precision. However, they require proper installation and ventilation planning.
Final Thoughts: Choosing the Right Professional Range
Measuring correctly is the foundation of a successful upgrade. When you account for width, depth, height, ventilation, utilities, and delivery access, you avoid costly surprises and ensure a smooth installation.
Once your space is properly evaluated, you can confidently choose between gas, dual fuel, or induction professional ranges based on your cooking style.
Explore the latest models at ShopAppliances.com and find the perfect professional range for your kitchen.
Read More
- The Best Ranges of 2026: Finding the Perfect Fit for Your Kitchen
- How to Choose the Right Range Size (Complete Buying Guide)
- The 7 Best Professional Ranges for 2026 (That Aren’t Wolf or Viking)
- The Best Dual Fuel Ranges of 2026: The Ultimate Guide for Home Cooks
- The Best Gas Ranges of 2026: Cook Like a Pro with These Top Picks