How to Measure for Built-In Coffee, Steam, and Speed Ovens

Introduction
Accurate measurements are essential when planning for built-in coffee machines, steam ovens, and speed ovens. Even small miscalculations can lead to installation problems, poor performance, or costly adjustments.
Incorrect sizing often results in issues such as appliances not fitting properly, inadequate ventilation that can cause overheating, and delays during installation. These problems can impact both functionality and the overall look of your kitchen.
Because built-in coffee machines, steam ovens, and speed ovens each have unique requirements, careful measuring ensures compatibility across all units and helps create a seamless, integrated design.
Step 1: Determine Installation Style and Position
This step sets the foundation for proper fit, function, and kitchen flow.
Built-In vs. Flush Installation
- Standard (Proud): Appliance sits slightly forward with trim overlapping cabinetry. Easier install and smaller cutout.
- Flush Inset: Appliance sits level with cabinets for a seamless look. Requires precise measurements and more depth.
- Note: Not all models support flush installation. Always verify first.
Wall Cabinet vs. Under-Counter Placement
- Wall Cabinet: Common for 24 inch or 30 inch units. Keeps appliances at eye level for convenience.
- Under-Counter: Works for some speed ovens. Good for small kitchens but less ergonomic.
Stacked Configurations (Coffee + Speed Oven Combos)
- Vertical Stack: Coffee machine and ovens stacked in a column, with primary oven at waist level.
- Cube Layout: Grid-style layout keeps all appliances within easy reach and improves ergonomics.
Importance of Manufacturer Cutout Specs
- Exact Fit: Always follow specified cutout dimensions.
- Support: Ensure cabinets can handle appliance weight.
- Clearances: Allows space for ventilation, wiring, and plumbing.
Getting this right ensures your appliances install cleanly and function properly.
Explore popular built-in options before planning your layout:


Step 2: Measure Cabinet Width and Height
Accurate measurements should focus on the cutout opening, not the overall cabinet size.
How to Measure Width
- Measure horizontally from one side of the opening to the other.
- A typical 30 inch installation requires a cutout around 28 1/2 to 28 5/8 inches.
- If cabinet walls are thin, you may need to shim both sides to meet exact specs.
How to Measure Height
- Measure vertically from the bottom to the top of the opening.
- For under-counter installs, measure from the bottom of the countertop down.
- Many speed ovens require a cutout height around 19 11/16 to 19 3/4 inches.
Standard vs. Non-Standard Sizes
- Common cabinet widths are 24 inch and 30 inch.
- Actual requirements vary by model, so always check manufacturer specs.
- Flush installations often require slightly larger openings.
Tip: Measure in Multiple Spots
- Measure width and height at the top, middle, and bottom.
- This helps catch uneven or bowed cabinets that could affect installation.
Getting precise measurements here ensures a proper fit and avoids installation issues later.
Step 3: Measure Cabinet Depth and Support
Proper depth and structural support are critical to ensure your appliance fits correctly and operates safely.
Measure Usable Depth (Front to Back)
- Measure from the front of the cabinet opening to the back wall.
- Most built-in units require at least 23 to 23.5 inches of depth.
- Flush installations need extra depth so the appliance can sit recessed.
- Check for internal obstructions that may reduce usable space.
Account for Door Clearance and Handle Space
- Handles are not included in cutout depth but affect overall clearance.
- Example: Depth may increase from about 23 inches to over 25 inches with the handle.
- Allow at least 23 inches of front clearance for the door to open fully.
- Ensure a nearby landing space for safely placing hot items.
Check Cabinet Strength and Support
- Use a solid, fixed platform instead of adjustable shelving.
- A speed oven may require support for up to 90 lbs.
- Stacked units can exceed 400 lbs, requiring reinforced cabinetry.
- Ensure the base is level to prevent safety issues.
Plan Rear Clearance for Utilities
- Leave space for electrical wiring, junction boxes, and water lines.
- Routing utilities through an adjacent cabinet can improve fit.
- Maintain ventilation gaps to prevent overheating.
Accurate depth and proper support ensure a safe installation and long-term appliance performance.

Image Credit: Viking
Step 4: Plan for Ventilation and Clearances
Proper ventilation and spacing are essential for safe operation, performance, and appliance longevity.
Allow for Airflow (Top, Sides, Rear)
- Built-in units rely on internal fans to move heat out of the cabinet.
- Maintain a minimum depth of about 23.5 inches for airflow and utilities.
- Leave space between stacked or grouped units to prevent heat buildup.
- External ventilation, like a range hood or nearby window, helps manage released heat and moisture.
Understand Appliance Differences
- Speed Ovens: Generate high heat quickly using convection and microwave power.
- Steam Ovens: Produce moisture, requiring proper airflow and moisture-resistant cabinetry.
- Coffee Systems: Often need dedicated electrical circuits and sometimes water lines.
Avoid Overheating Issues
- Poor ventilation can damage cabinets and internal components.
- Trapped heat may affect cooking accuracy and shorten appliance lifespan.
- Severe cases can trigger shutdowns or safety risks.
Follow Manufacturer Clearance Guidelines
- Always follow exact cutout and spacing specifications.
- Allow at least 23 inches of front clearance for door operation.
- Install appliances within a comfortable height range for safe use.
- Some units, especially steam ovens, may have stacking restrictions.
- Ensure surrounding materials can handle high temperatures.
Planning ventilation and clearances correctly helps prevent damage, ensures safety, and keeps your appliances running efficiently.
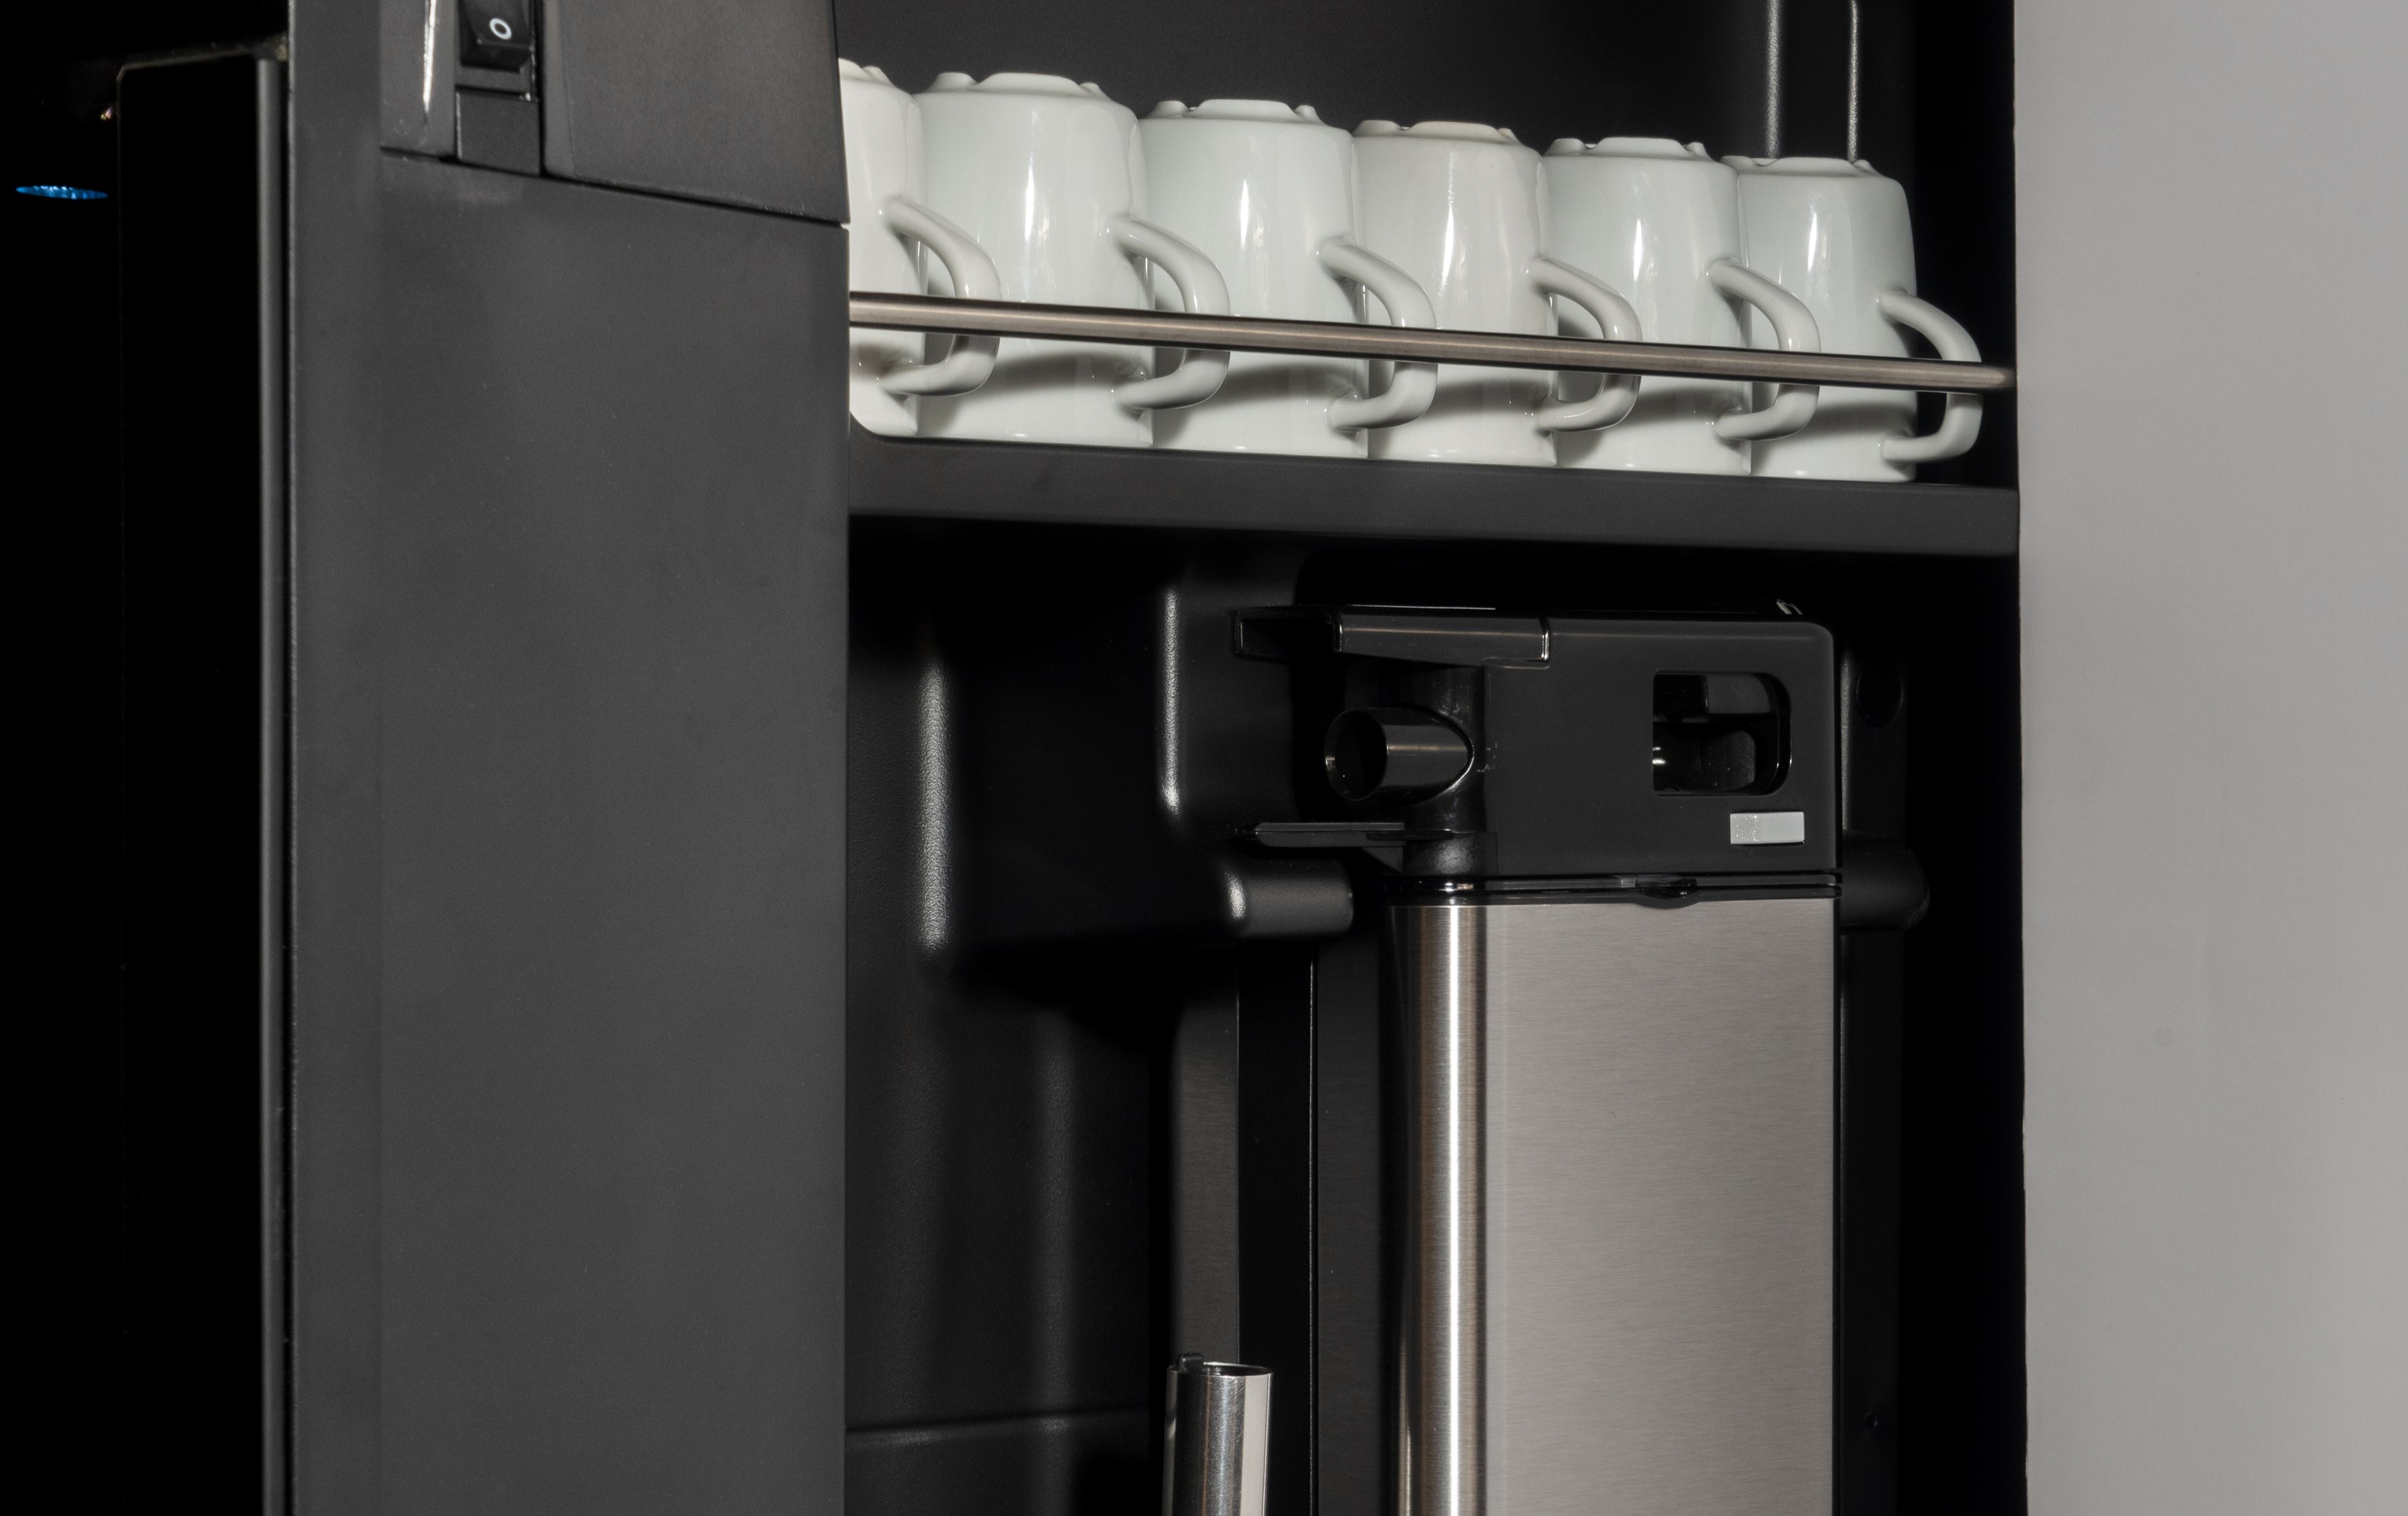
Image Credit: Bertazzoni
Step 5: Verify Utility Locations
Proper utility planning ensures your appliances operate safely and remain accessible for maintenance.
Electrical Outlet Placement
- Most units run on 120V, but speed ovens often require a 20-amp dedicated circuit.
- Place outlets and junction boxes in an adjacent cabinet to allow a flush installation.
- Avoid extension cords.
- Use Ground-Fault Circuit Interrupter (GFCI) protection if near a water source.
Water Line Requirements
- Plumbed models: Connect directly to a water line and require proper access.
- Non-plumbed models: Use refillable tanks and should be installed near a sink.
- Ensure surrounding cabinetry is moisture-resistant.
Drain and Utility Considerations
- Plan plumbing so it does not block the appliance from fitting properly.
- Many models use internal drip trays, but always verify your unit’s requirements.
Ensure Access After Installation
- Route utilities through adjacent cabinets for easier servicing.
- Reinforce cabinetry to support heavy stacked installations.
- Leave space to slide the unit out slightly for maintenance.
- Keep a nearby landing area for safe handling during use or service.
Proper utility placement prevents installation issues and makes future maintenance much easier.
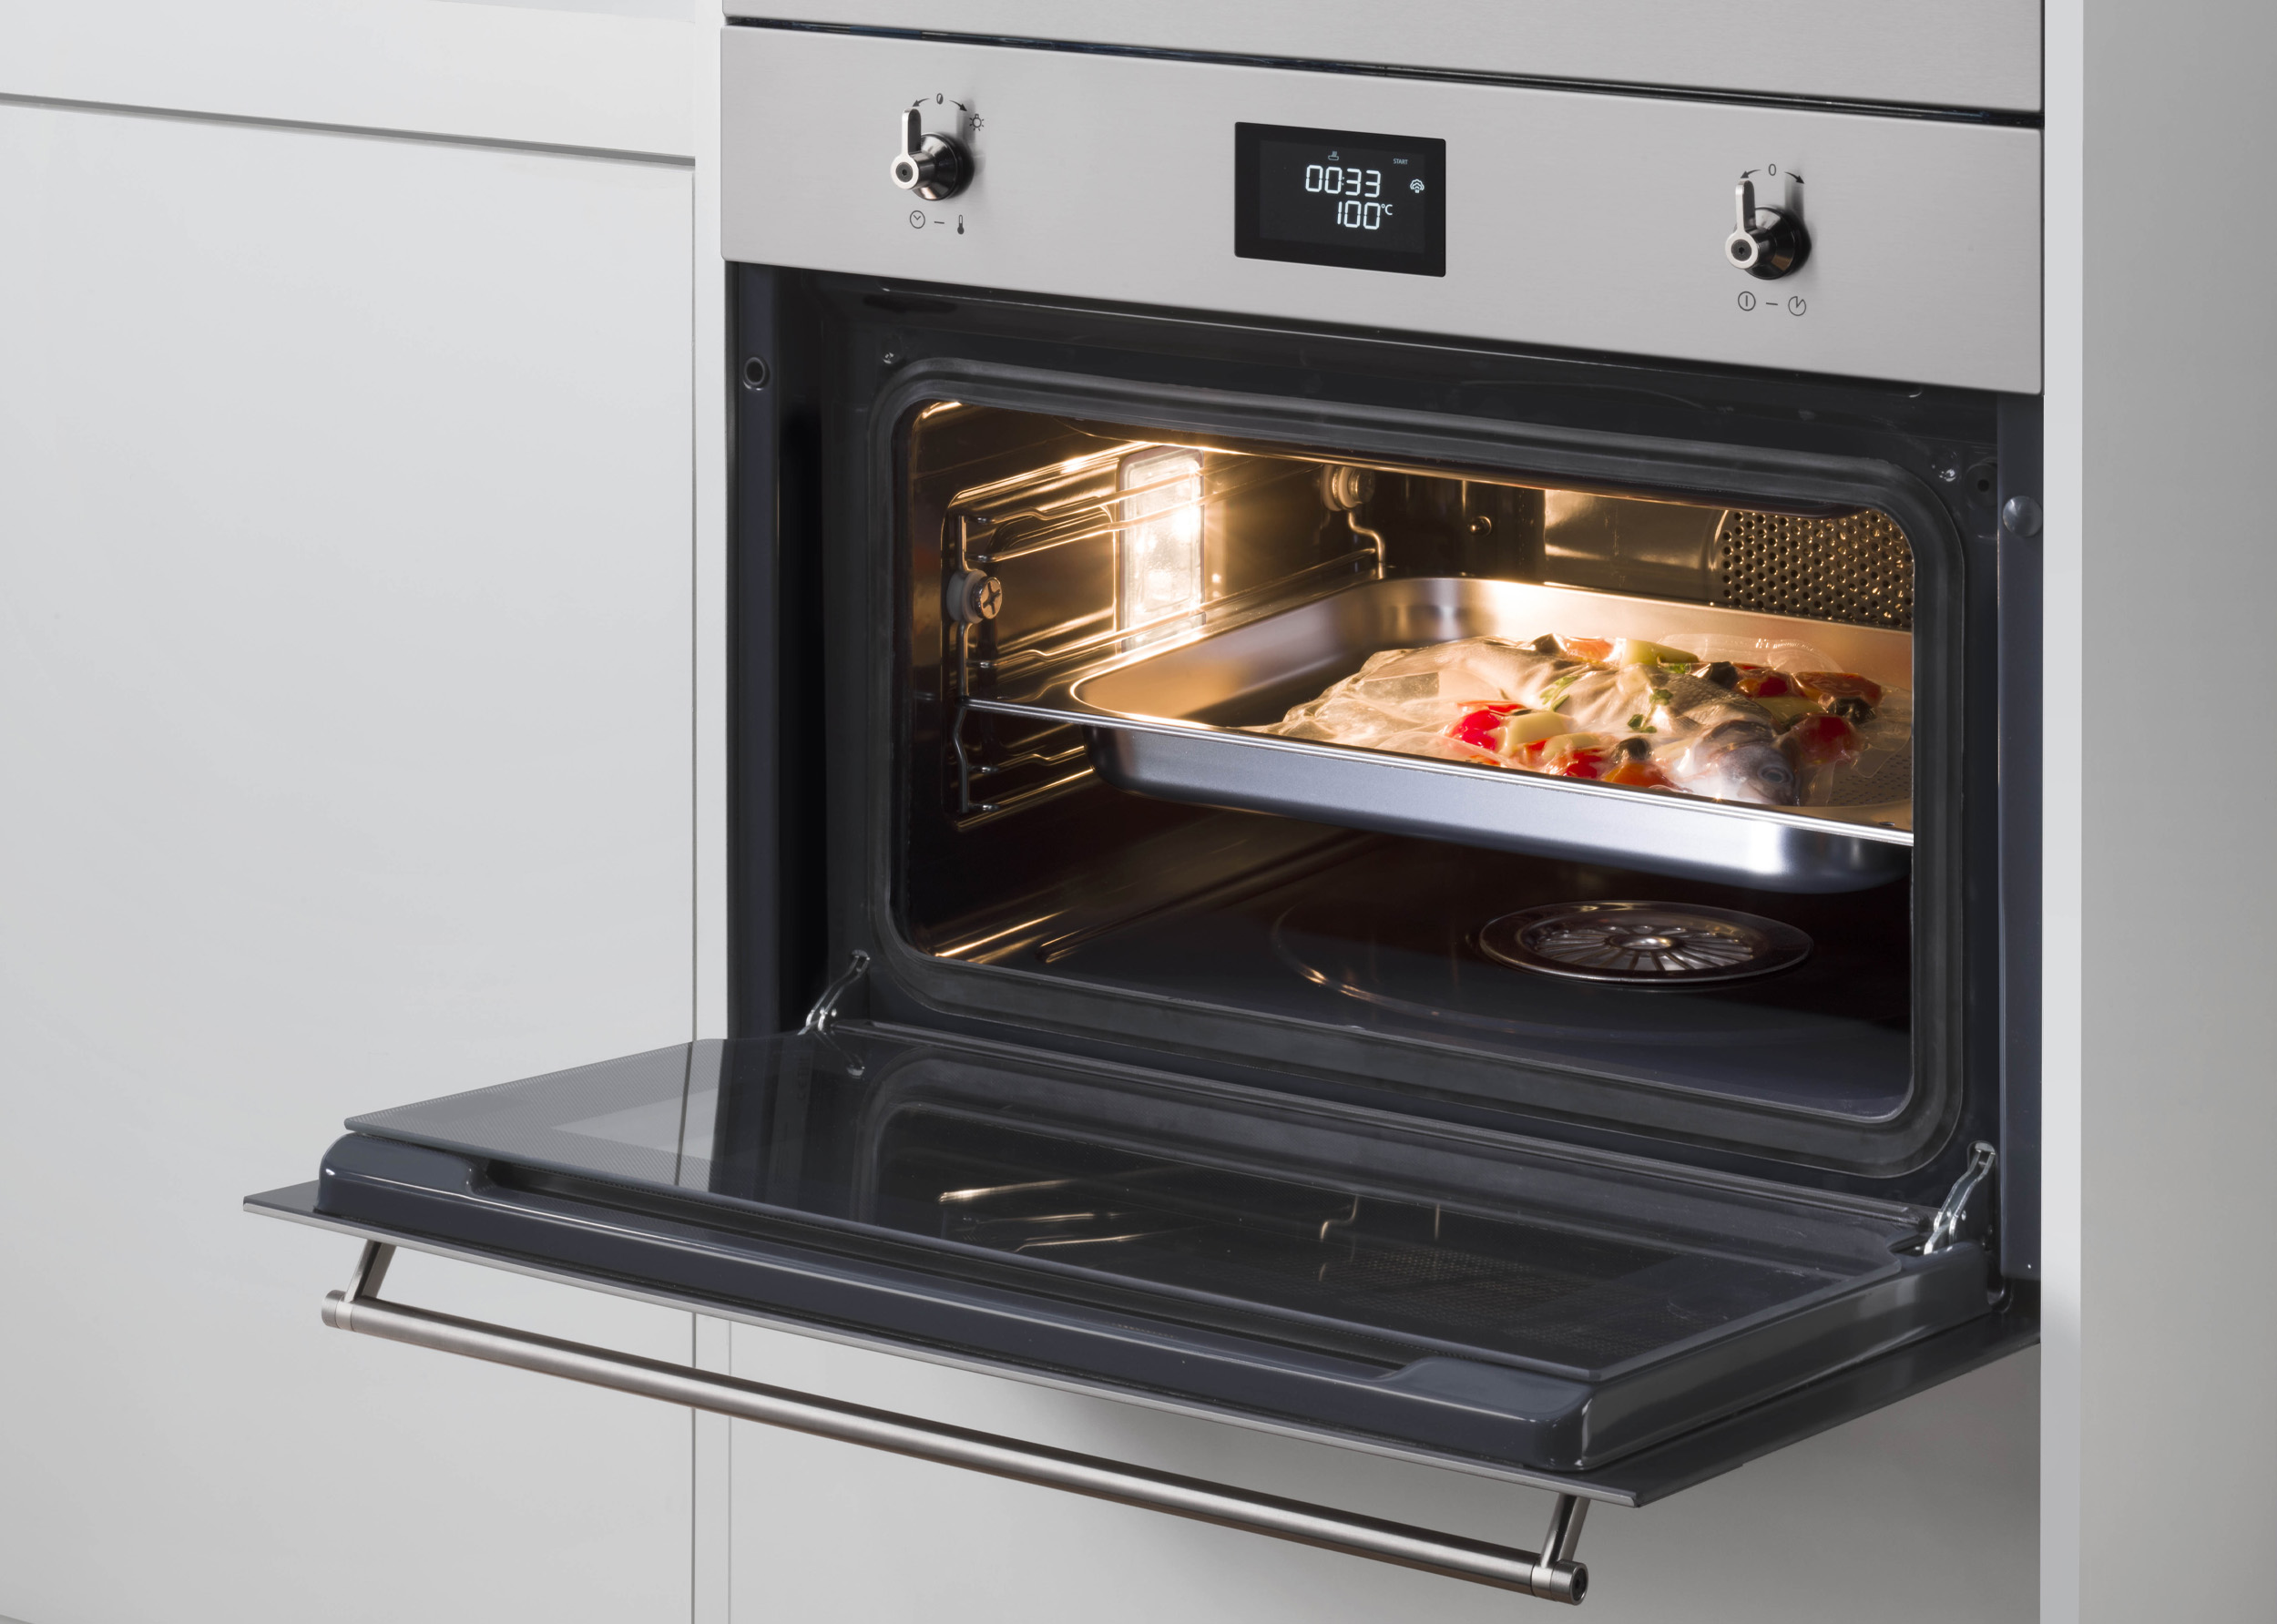
Image Credit: Smeg
Common Mistakes to Avoid
Measuring only once
Ignoring trim and door swing
Forgetting ventilation space
Not checking spec sheets
Pro Tips Before You Buy
- Always compare your measurements with the product cutout specs
- Leave a small tolerance for installation ease
- Consider future upgrades or replacements
Conclusion
Taking accurate measurements is essential for a smooth installation and long-term performance. Built-in coffee machines, steam ovens, and speed ovens are designed to integrate seamlessly into cabinetry, so even small measurement errors can lead to fit and ventilation issues.
Before purchasing, always double-check your dimensions against the manufacturer’s specifications to ensure proper clearance, support, and utility access.
Ready to upgrade your kitchen? Explore premium built-in options at ShopAppliances.com.
FAQs
What is the standard size for built-in coffee machines?
Most built-in coffee machines are designed for 24 inch wide cabinets, with cutout heights typically around 17 to 18 inches. However, dimensions vary by brand and model, so always check the manufacturer’s specifications before purchasing.
Do steam ovens require plumbing?
Not always.
- Plumbed models connect directly to a water line for automatic refilling.
- Non-plumbed models use a refillable water reservoir.
Your choice depends on convenience and whether you have access to a water line.
Can I stack a coffee machine above a speed oven?
Yes, many manufacturers allow stacking a coffee machine with a speed oven. However, you must follow brand-specific installation guidelines, including proper spacing, support, and ventilation requirements.
How much clearance do built-in ovens need?
Clearances vary by model, but generally you should allow:
- At least 23 inches in front for door opening
- Proper internal spacing for ventilation (as specified by the manufacturer)
- Adequate gaps between stacked units if applicable
Always refer to the installation manual for exact requirements.
Why buy from ShopAppliances.com?
ShopAppliances.com is an authorized dealer, offering genuine products backed by full manufacturer warranties. You get competitive pricing, fast and reliable delivery, and expert customer support to help you choose and install the right appliances for your kitchen.
Read More
How to Pair Steam, Speed, and Wall Ovens (Your 2026 Ultimate Guide)
Best 2026 Guide: How to Match Refrigeration, Cooking, and Ventilation for Kitchen Design
The Ultimate Appliance Delivery Prep Guide: Measurements, Utilities, and More
Appliance Delivery Checklist: How to Ensure Your Fridge, Washer, or Oven Fits Through Any Door