The Ultimate Guide to Induction Cooktop Care: Cleaning, Repair, and Longevity

Induction cooktops have transformed modern kitchens with their sleek design, fast performance, and energy efficiency. But while they look tough, their smooth glass surface requires careful maintenance to stay spotless and damage-free.
If you want your cooktop to keep that “like new” shine for years, the secret is simple: clean correctly, avoid harsh tools, and build smart habits.

The Beauty and Vulnerability of Glass-Ceramic
Why homeowners love induction cooktops
Induction surfaces are:
- Sleek and modern
- Energy-efficient
- Safer than traditional gas or electric burners
- Easy to wipe down compared to grates and coils
The hidden challenge
Despite their durability, these surfaces are prone to:
- Scratches from rough materials
- Burnt-on residue that becomes difficult to remove
- White stains and cloudy film buildup
- Permanent damage if cleaned incorrectly
That means using the wrong cleaner or tool even once can leave lasting marks.
The Essential Toolkit (and What to Avoid)
What you should NEVER use
Using abrasive or harsh materials is the fastest way to ruin your cooktop. Avoid:
- Steel wool or wire brushes
- Abrasive scouring pads
- Powdered cleaners
- Ammonia-based glass cleaners
- Chlorine bleach or rust removers
These can scratch or chemically damage the glass surface permanently
What you SHOULD use
Stick with gentle, cooktop-safe materials:
- Microfiber cloths
- Soft sponges
- Non-abrasive scrubbing pads
- Cooktop scraper (or single-edge razor)
- Mild dish soap or dedicated cooktop cleaner
These tools clean effectively without damaging the surface.
Daily Cleaning Routine (The Most Important Habit)
Consistency is everything. A quick wipe after each use prevents buildup.
Steps:
- Let the cooktop cool completely
- Wipe with a damp microfiber cloth and mild soap
- Dry with a clean cloth to prevent water spots
This simple routine stops grease and residue from hardening over time

Deep Cleaning for Burnt-On Messes
1. Scrape Gently
- Wait for the right temperature: For the best results, wait until the cooktop has cooled enough to be warm, but not hot to the touch, as this helps break down residues faster.
- Use the correct tool: Use a specialized cooktop scraper, a retractable scraping tool, or a single-edge razor blade.
- The Technique: Hold the scraper at a shallow, flat angle (approximately 45 degrees) and glide it across the residue. Do not press or dig, as this can scratch the glass.
2. Apply Cleaning Solution
- Recommended Products: Apply a specialized glass-ceramic cooktop cleaner (such as Weiman or Affresh), a diluted white vinegar solution, or a wet baking soda paste (two parts baking soda to one part water).
- What to Avoid: Never use window cleaners containing ammonia, chlorine bleach, or abrasive powder cleansers, as these can leave permanent streaks, white marks, or micro-scratches.
3. Let It Sit (10–15 Minutes)
- Softening Grime: Allow the solution to rest on the surface for 10 to 15 minutes. This duration is critical for the chemicals or natural acids to penetrate and soften baked-on grease and stubborn food film.
4. Scrub Carefully
- Non-Abrasive Tools: Use a non-abrasive scrubbing pad, a microfiber cloth, or a soft sponge.
- The Motion: Scrub the affected areas in a circular motion until the residue is completely loosened and disappears.
5. Polish and Buff
- Remove Residue: Wipe away any remaining cleaning product with a clean, damp cloth.
- Restoring Clarity: Use a dry microfiber towel or a soft, dry cloth to buff the surface until the "hazy white film" or "cloudy film" disappears. If a cloudy ring remains after cleaning, it may be a sign of surface abrasion (thousands of tiny scratches) rather than a stain.
Pro-Tip for Prevention
To avoid needing a deep clean in the future, experts recommend wiping the cooktop down after every use once it has cooled to prevent spills from being baked on during the next cooking session. Additionally, always ensure the bottoms of your pans are clean, as dirty cookware can transfer residue that burns onto the glass.
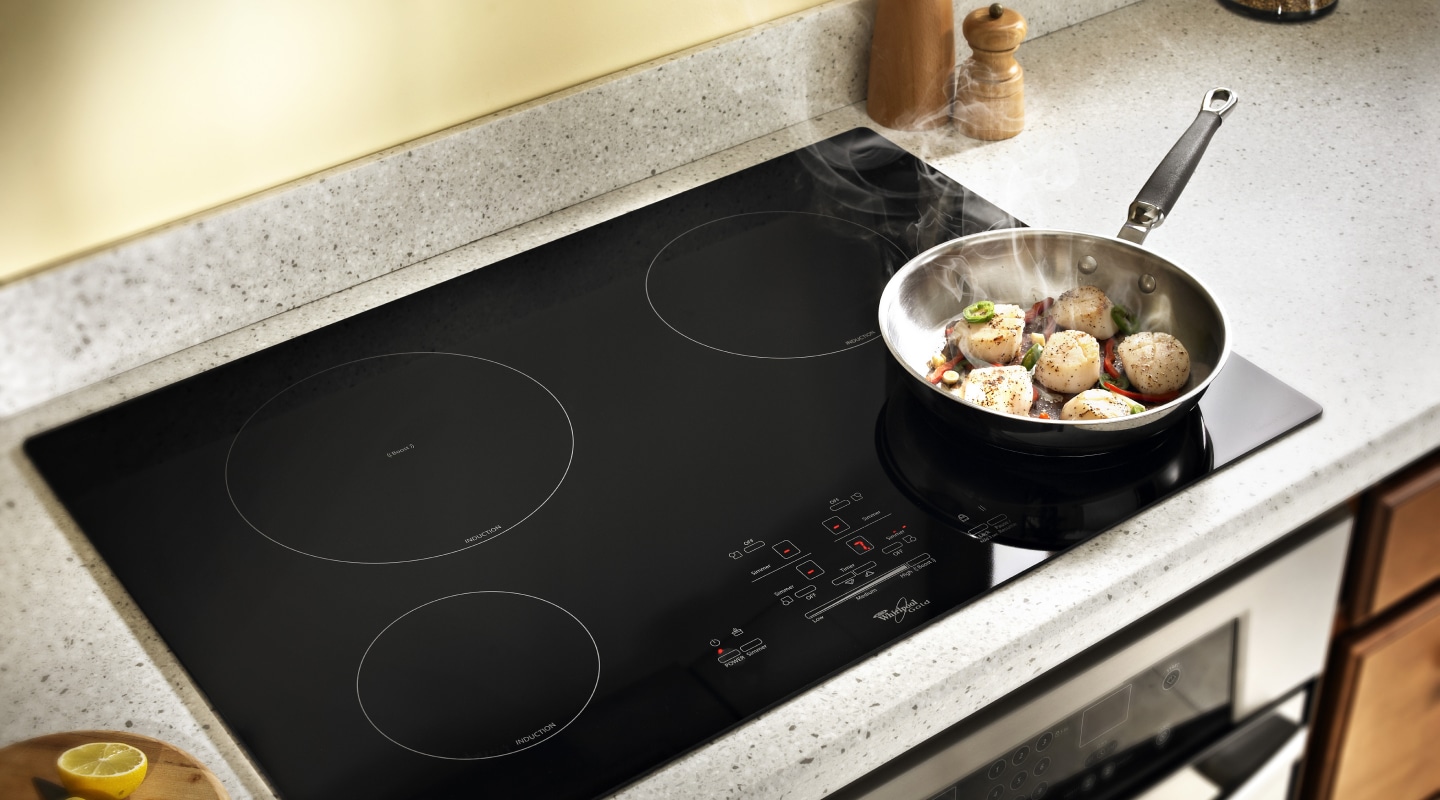 Image Credit: Whirlpool
How to Handle Tough, Specific Problems
White Rings or Hard Water Stains
- Cause: These are typically mineral deposits left behind by food or water.
- Fix: Moisten a dry cloth with white vinegar and apply it to the stains. Let it sit for a few minutes to break down the minerals before rubbing the stains away.
- Final Step: Rinse the area with a clean cloth using either distilled water or a dedicated cooktop cleaning solution, then dry with a microfiber towel. For extremely stubborn hard water stains, a melamine foam eraser used with vinegar can be effective.
Melted Plastic
- Fix: Apply a generous amount of baking soda to the affected area. Add a few teaspoons of vinegar to create a homogeneous mixture.
- Removal: Use a non-abrasive cloth to wipe the area, or for better results, use a glass scraper to safely lift the plastic deposits. Finish by wiping the surface thoroughly with soapy water.
Burnt Sugar Spills
- The Danger: Sugar and foods with high sugar content are uniquely hazardous to glass-ceramic surfaces because they can cause permanent "pitting" or "blisters" if allowed to cool and harden.
- Immediate Action: You must remove these spills immediately using a glass scraper while the surface is still hot or warm. Do not wait for the cooktop to cool down as you would for other types of cleaning.
Minor Scratches
- The Paste: Mix two teaspoons of baking soda with one teaspoon of water (a 2:1 ratio) to create a wet paste. It is critical that the paste is wet, as dry baking soda can be too abrasive and cause further scratching.
- The Method: Apply the paste with a dampened soft sponge or cloth and lightly buff the area in circular motions.
- Expectations: While this can significantly reduce the visibility of surface marks, you may not be able to completely remove deep scratches from the glass.
When to Call a Professional
- Safety Risks: You should consult an appliance specialist if you notice deep cracks, fractures, or structural damage.
- Critical Locations: Any scratches or damage located directly over the heating zones are particularly concerning and often require a full glass replacement rather than a DIY buffing.
- Warning: Operating a cooktop with cracks in the glass presents a significant risk of electric shock.
Smart Habits That Prevent Damage
Adopting these smart habits is essential for maintaining the integrity and appearance of your induction cooktop, as its glass-ceramic surface is highly susceptible to specific types of damage.
1. Lift, Don’t Slide
Sliding pots and pans across the cooktop is a primary cause of abrasions, deep scratches, and "metallic marks". Dragging cookware can also lead to a "white haze" or cloudy rings that are actually thousands of tiny surface scratches rather than stains. Always lifting cookware ensures you do not inadvertently trap grit or salt between the pan and the glass, which acts like an abrasive.
2. Keep Pan Bottoms Clean
Ensuring the underside of your cookware is pristine is just as important as cleaning the cooktop itself. Dirty cookware transfers grease, food residue, and even rust to the glass surface, where it becomes baked on by the heat from the pan. This charred residue is much harder to remove and may eventually require aggressive cleaning that risks scratching the surface.
3. Use the Right Cookware
The material and texture of your cookware determine how safely it interacts with the glass-ceramic surface.
-
Recommended (Smooth and Flat Bases):
- Stainless steel: A durable and affordable choice, provided the bottom is completely smooth.
- Enameled cast iron: These offer excellent heat retention; however, you must ensure they have a smooth, finished bottom.
- Ceramic: Naturally smooth and gentle on glass.
- Hard-anodized aluminum: Durable and excellent for heat distribution, as long as the base is flat.
-
Avoid (Rough or Reactive Materials):
- Rough/Traditional cast iron: The unfinished, gritty texture is a leading cause of permanent scratches.
- Copper: This material can leave behind permanent metallic marks or discoloration on the glass.
- Textured-bottom pans: Any uneven or non-stick pans with textured bases can wear down the cooktop over time.
4. Never Use Glass Cleaner
While it may seem counterintuitive since the surface is glass, standard window or glass cleaners contain ammonia, which is too harsh for induction tops. Using these products can cause permanent streaking, cloudy stains, and unsightly white marks that ruin the finish. Additionally, the heat from cooking can cause ammonia fumes to become an irritant to your nose and throat. Instead, stick to mild dish soap, white vinegar, or cleaners specifically formulated for glass-ceramic surfaces.

A Pristine Cooktop Comes Down to Consistency
Keeping your induction cooktop in perfect condition does not require hours of scrubbing. It comes down to a few simple habits you can follow every day:
- Wipe after every use
- Use only non-abrasive tools
- Clean spills immediately
- Choose the right cookware
Stick to these steps and your cooktop will stay shiny, scratch-free, and performing at its best for years.
Ready to upgrade your kitchen care routine? Explore premium induction cooktops, cleaners, and accessories at ShopAppliances.com and keep your kitchen looking its absolute best.
FAQs
How often should I clean my induction cooktop?
After every use for light cleaning, and deep clean weekly or as needed.
Can I use vinegar on my cooktop?
Yes, vinegar is safe and effective for removing mineral deposits and grease.
What causes cloudy film on glass cooktops?
Residue buildup from cooking oils or improper cleaning products.
Are scratches repairable?
Minor scratches can be reduced, but deep ones usually require professional repair.
Why buy from ShopAppliances.com?
ShopAppliances.com is an authorized dealer offering manufacturer-backed warranties, competitive pricing, reliable delivery, and expert customer support to help you choose and maintain your appliances with confidence.
Read More
How to Care for Panel-Ready Refrigeration (A Complete Maintenance and Preservation Guide)
How to Plan Weather Exposure and Choose the Right Materials for Outdoor Spaces
How to Winterize Outdoor Appliances: Complete Guide for Grills, Fridges, Plumbing, and More
How to Season, Clean, and Restore Cast Iron (Best 2026 Complete Guide)